Create your membership form:
- Log into your Zeffy dashboard on a computer.
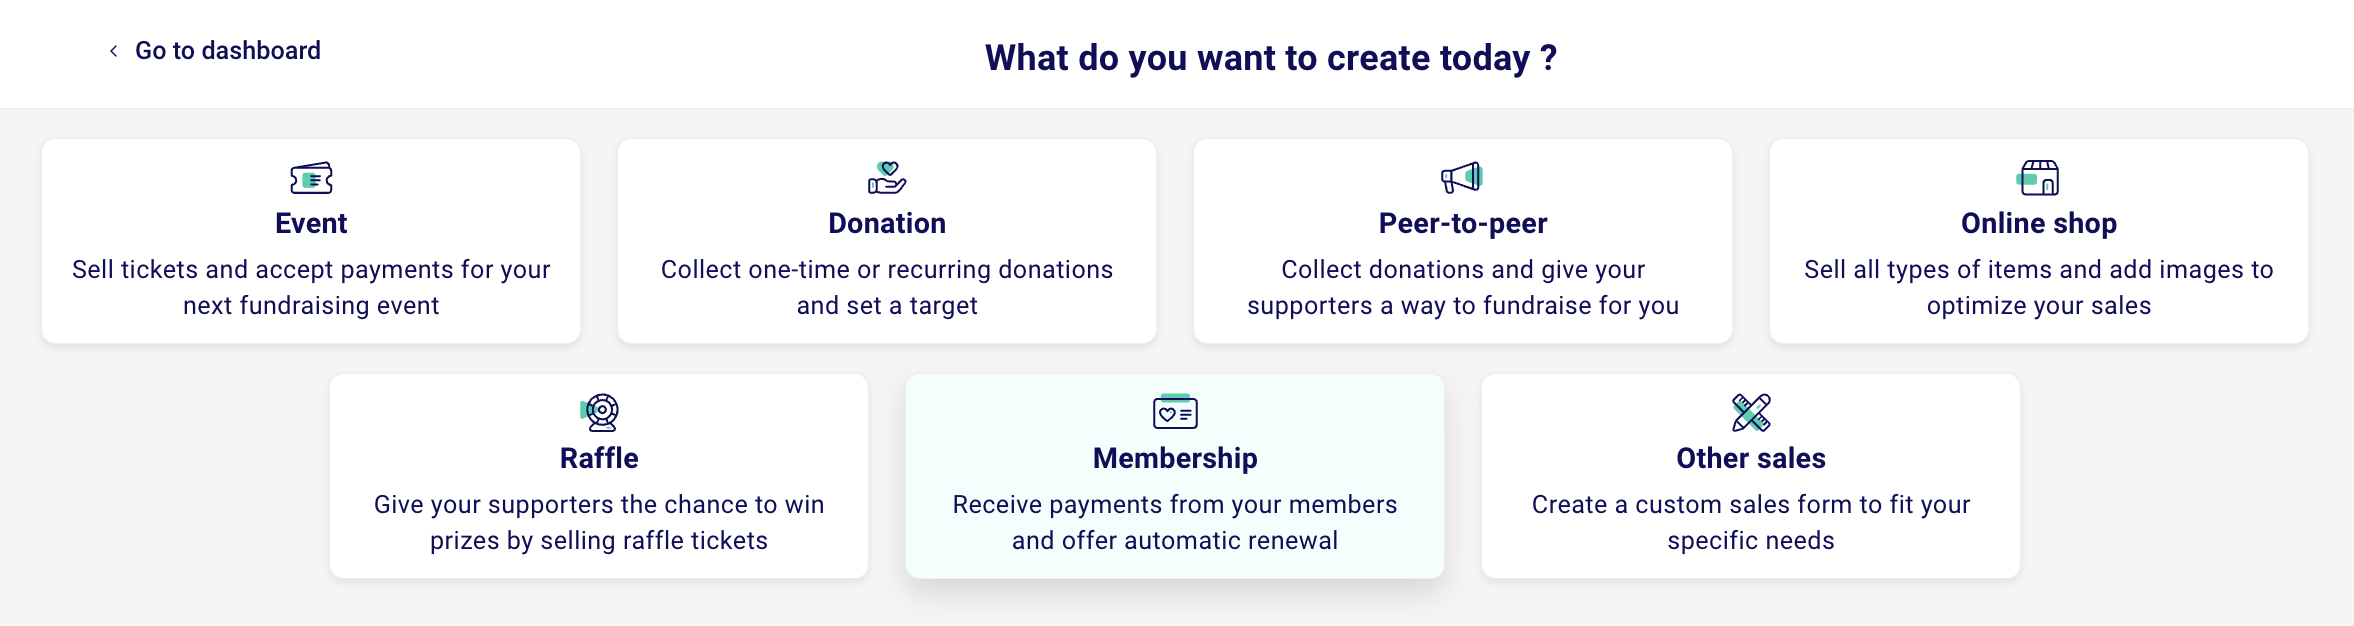
- Click on "my forms" in the menu bar on the left. Click on "+ New form" and select the Membership option.
1) Describe your Membership
- On this same page, add the name of your membership, choose your language, and add a description.
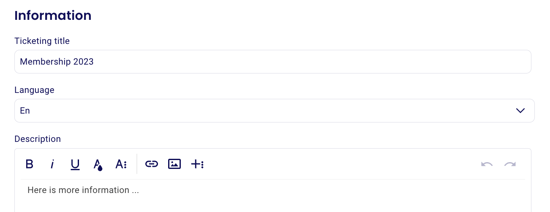
- Click on "Next" in the top right once you're happy with this.
2) Add your Memberships
- On the second page, you'll be able to add your memberships.
- Name your membership, and add a price and description.
- Add as many different membership types as you want by clicking "+ Add type" in the bottom right.

- Set the membership validity period. You can choose between:
- No expiration date
- Monthly membership
- Yearly membership
- Set renewal date either as the payment date or a custom date
- 🤲 Activate donation:
- Below your memberships, you can activate the option for donors to add a donation to your organization and to generate a receipt for the additional donation.
Note that if a member adds a donation to their membership purchase and they select automatic renewal, they will be charged the donation amount the following year as well.
- Below your memberships, you can activate the option for donors to add a donation to your organization and to generate a receipt for the additional donation.
- 🔁 Activate Renewal:
- Automatic renewal is selected by default on all membership forms. Donors can unselect this option if they wish.
Regardless of whether or not they activate automatic renewal, your members will receive a reminder 30 days prior to the expiration of their membership.
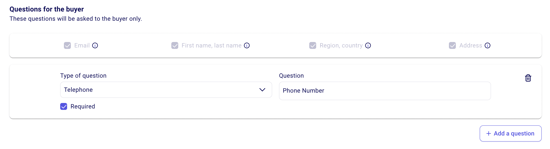
- ❓ Ask your members custom questions:
- In the custom questions section, you have the option to ask your members custom questions.
- Click on "Next" in the top right of this page once you're done adding your items and questions.
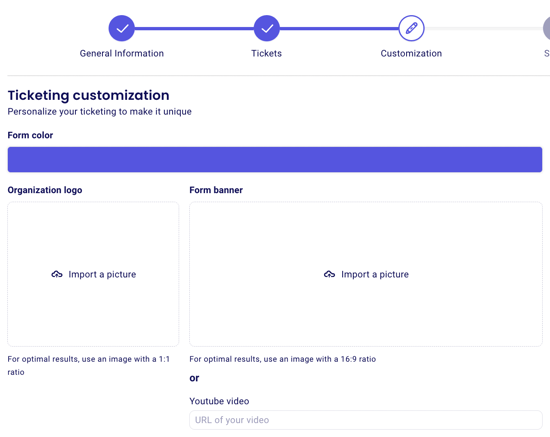
3) Customize the look of your membership form
- In the third step of your membership form, you can change the color of your form, you can add your logo (1:1 ratio recommended), and add a form banner (16:9 ratio recommended).
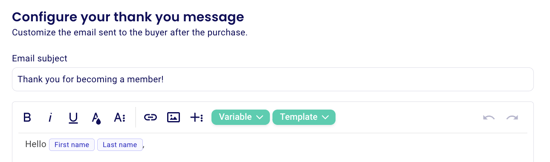
- Further down, edit the thank you email that goes out every time somebody purchases a membership on your form!
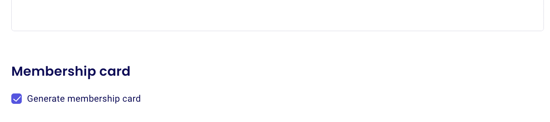
- At the very bottom of the page, you can check whether or not you want to generate membership cards for your members.
Click on "Create" in the top right of this page once you're done customizing your form. This will finalize the creation of your form and will save it in your dashboard so that you can go back and edit it. If you don't click on create, your edits and creation will be lost.
4) Share your membership form
- In the fourth step, you can share the form to your event.
- Under "Form Link," you can copy and paste the URL to the form.

- You can also share your event by embedding it on your website or by using your unique QR code. For more information on how these options work, consult our documentation here.
4) Advanced Settings
- In your advanced settings:
- Enable paying by cheque for payments above 500$.
- Add discount codes to your membership form. For more information on discount codes, please consult our documentation here.
- Add your email in the notification field so that you can be notified each time somebody makes a purchase on your form.

5) Share your form
Once your form configuration has been finalized and you're ready for it to be publicized, you'll be able to share it with your community. To learn how to share your form, consult the instructions here: Sharing your Zeffy form.